
Create and Customize 3D Scenes in 3D Studio
If you're struggling to find the right reference for your idea, you can set up the scene manually with Filmora.TV's 3D Studio. With its 3D scene controls, you can position characters in 3D space, arrange the scene, and explore different camera angles to plan your shots on the canvas.


Practice each step from this guide directly in Filmora.TV.
In this article
3D Studio Features
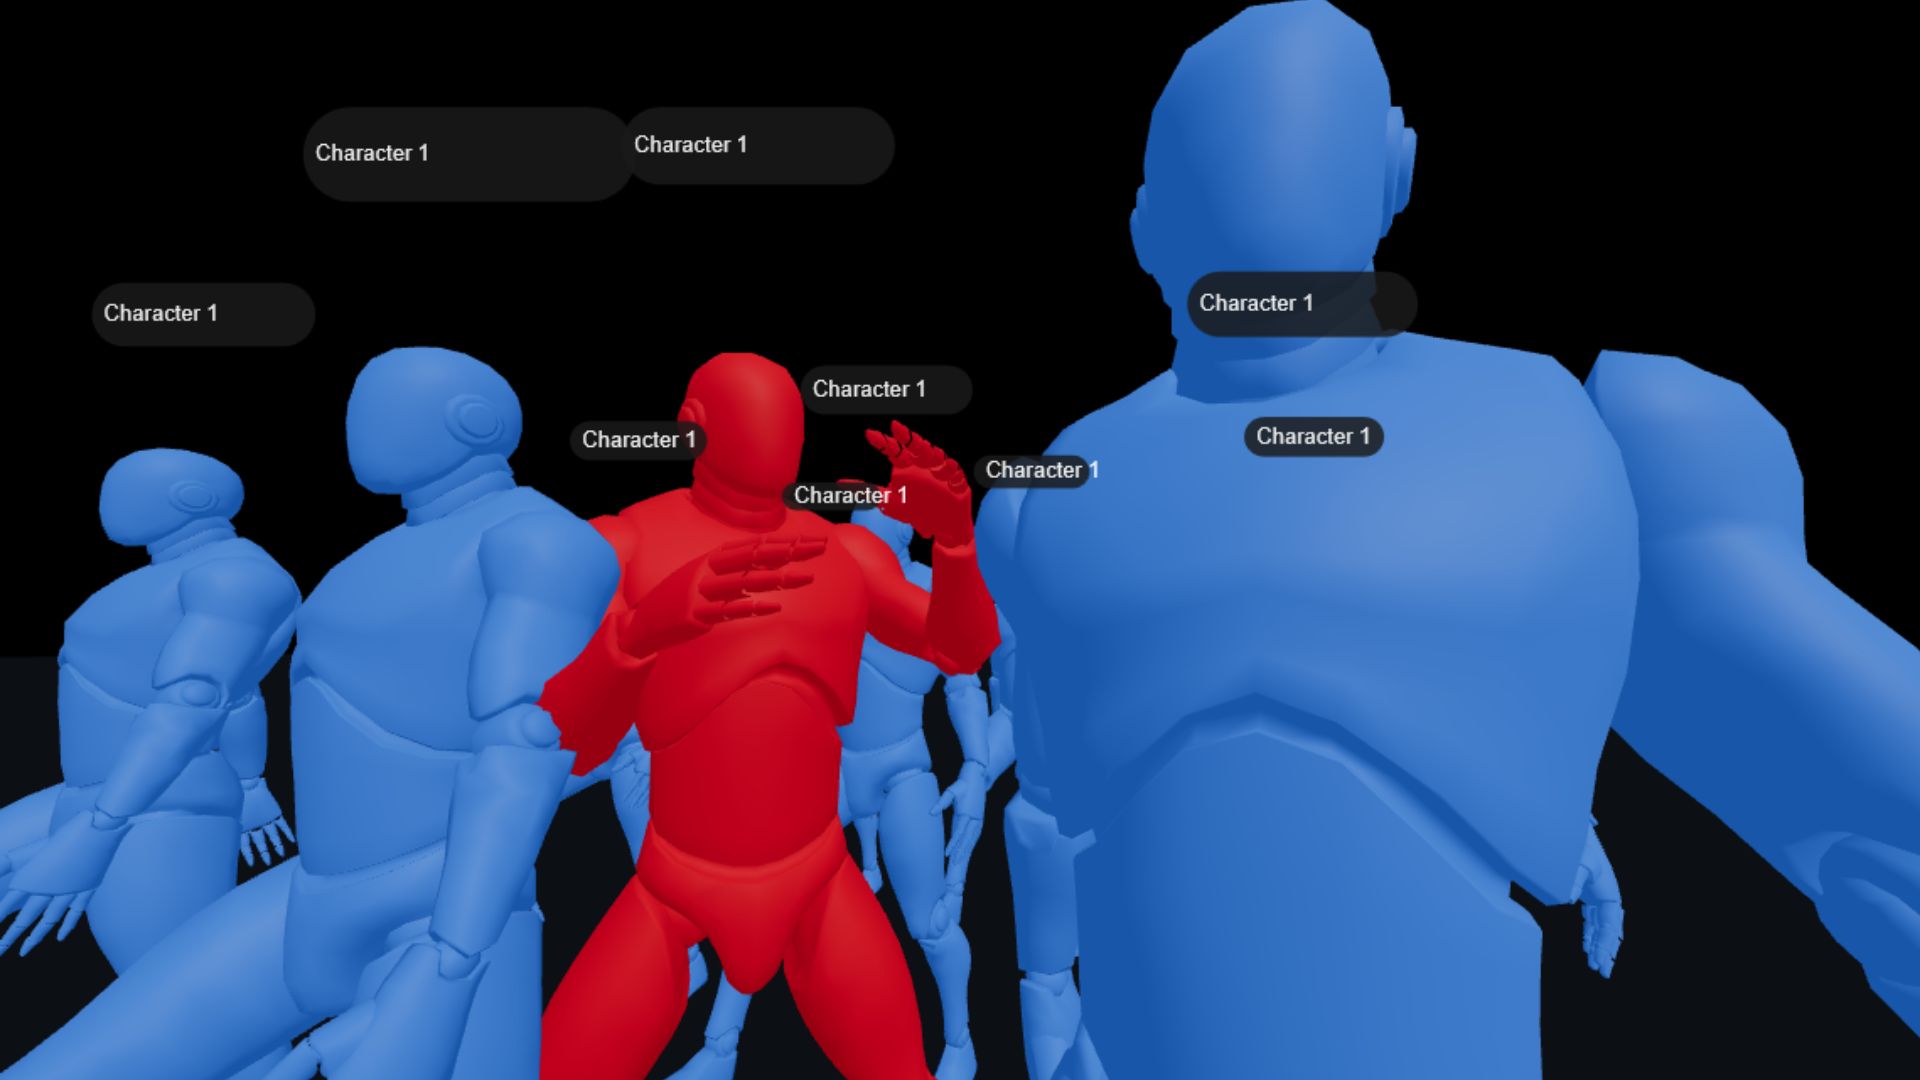
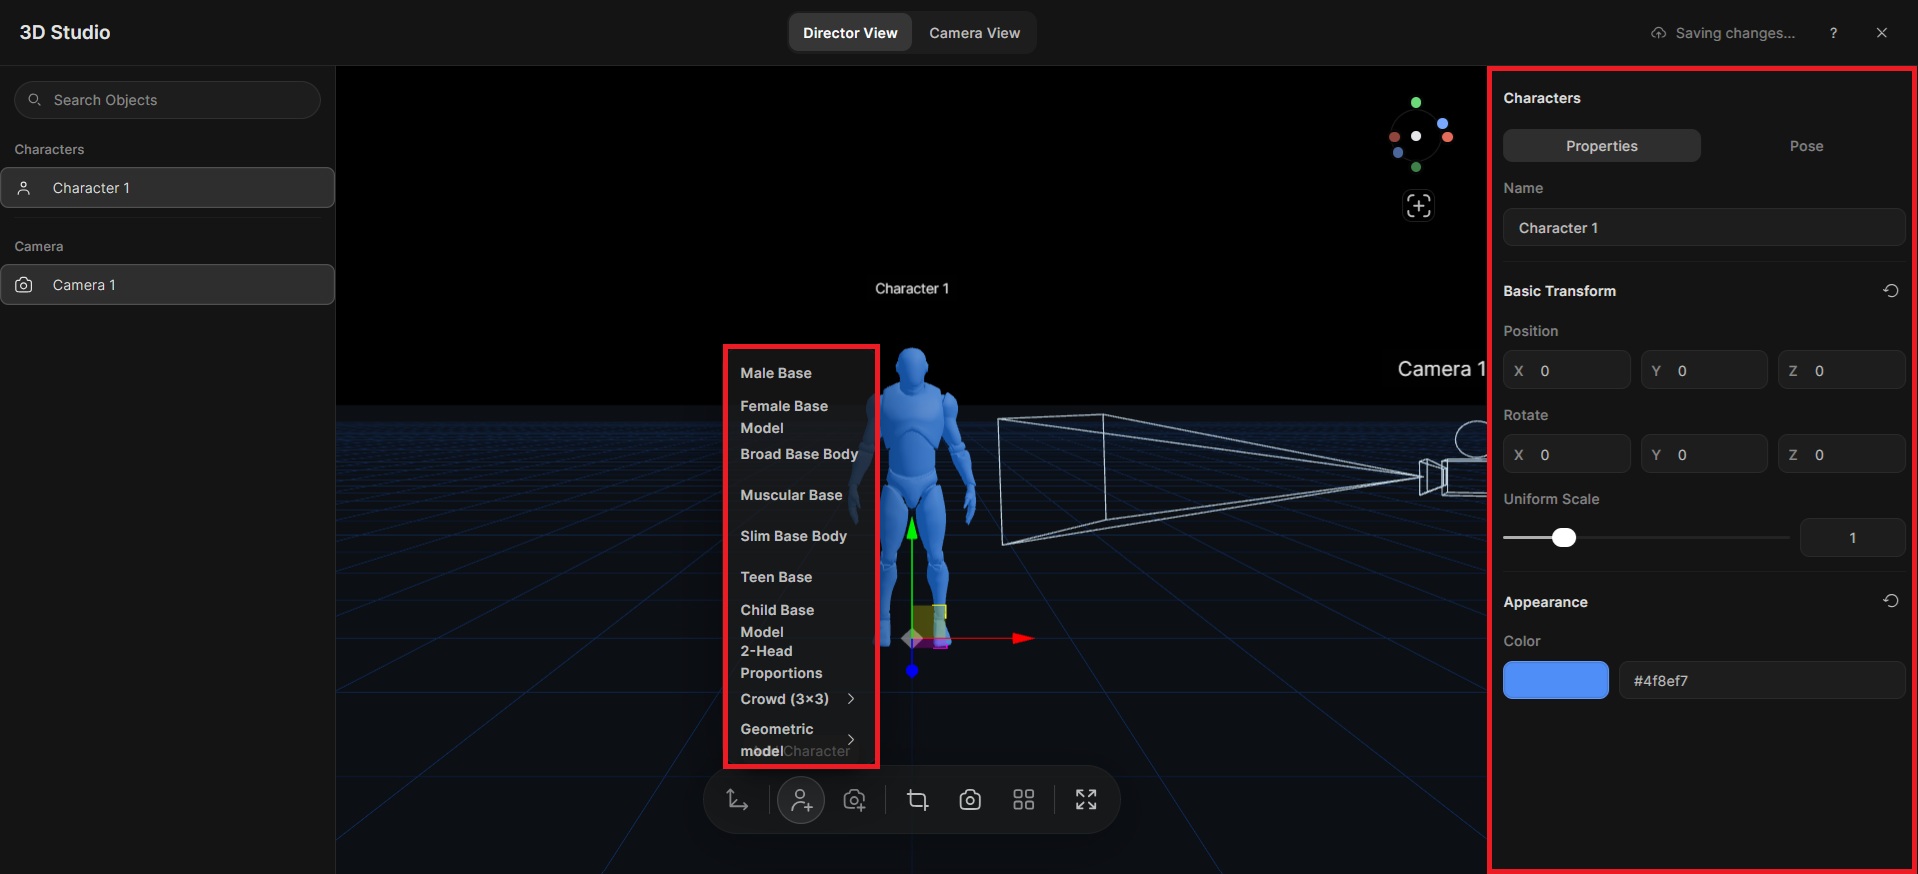
- 3D Characters: Add characters with different appearances and proportions, including geometry models, crowds, etc., to your scene and place them in the 3D space.
- Character Controls: Adjust a character's position, rotation, and scale, then customize their pose using presets and adjustable controls.
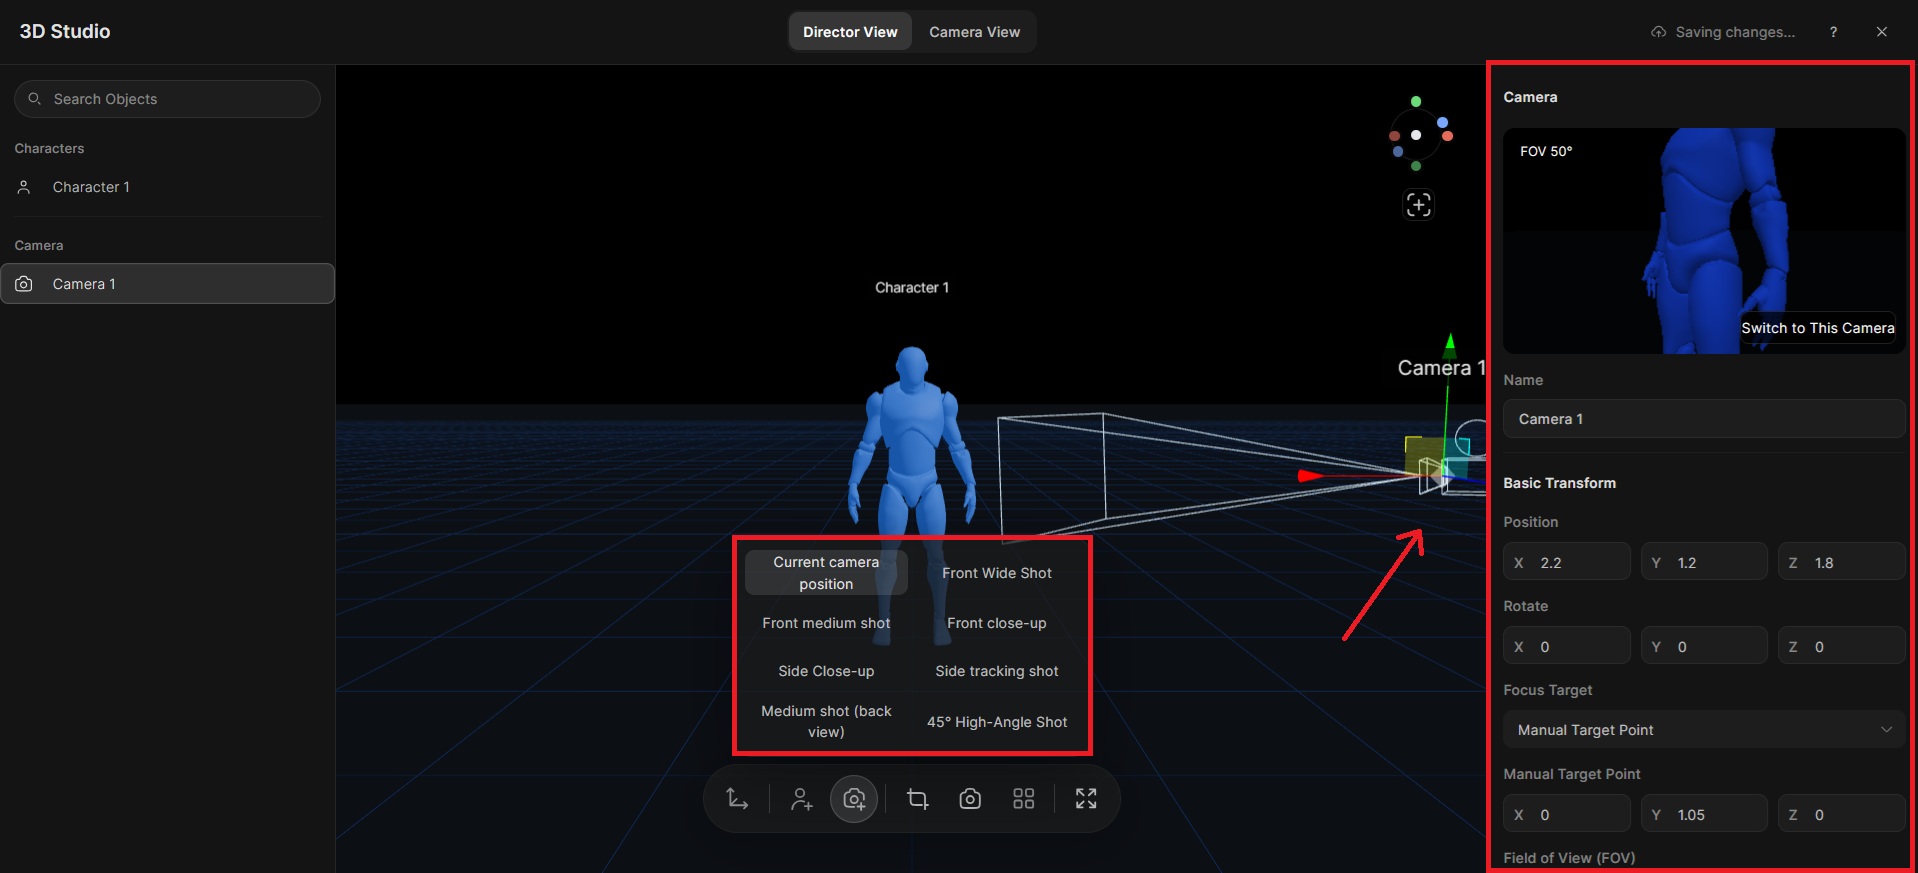
- Camera Controls: Adjust the camera to explore different angles and frame your shot.
- Camera Position: Choose preset camera positions (close-up, medium shot, 45-degree high-angle shot, etc.), then fine-tune the camera's placement and perspective.
- Scene Preview: Preview your scene and check the composition before capturing the shot and applying it to your canvas.
You can switch between Camera View and Director View to frame shots from the camera's perspective or freely navigate the scene while setting up your composition.
How to Use 3D Studio
Here's how to use Filmora.TV's 3D Studio to plan and capture your shots.
-
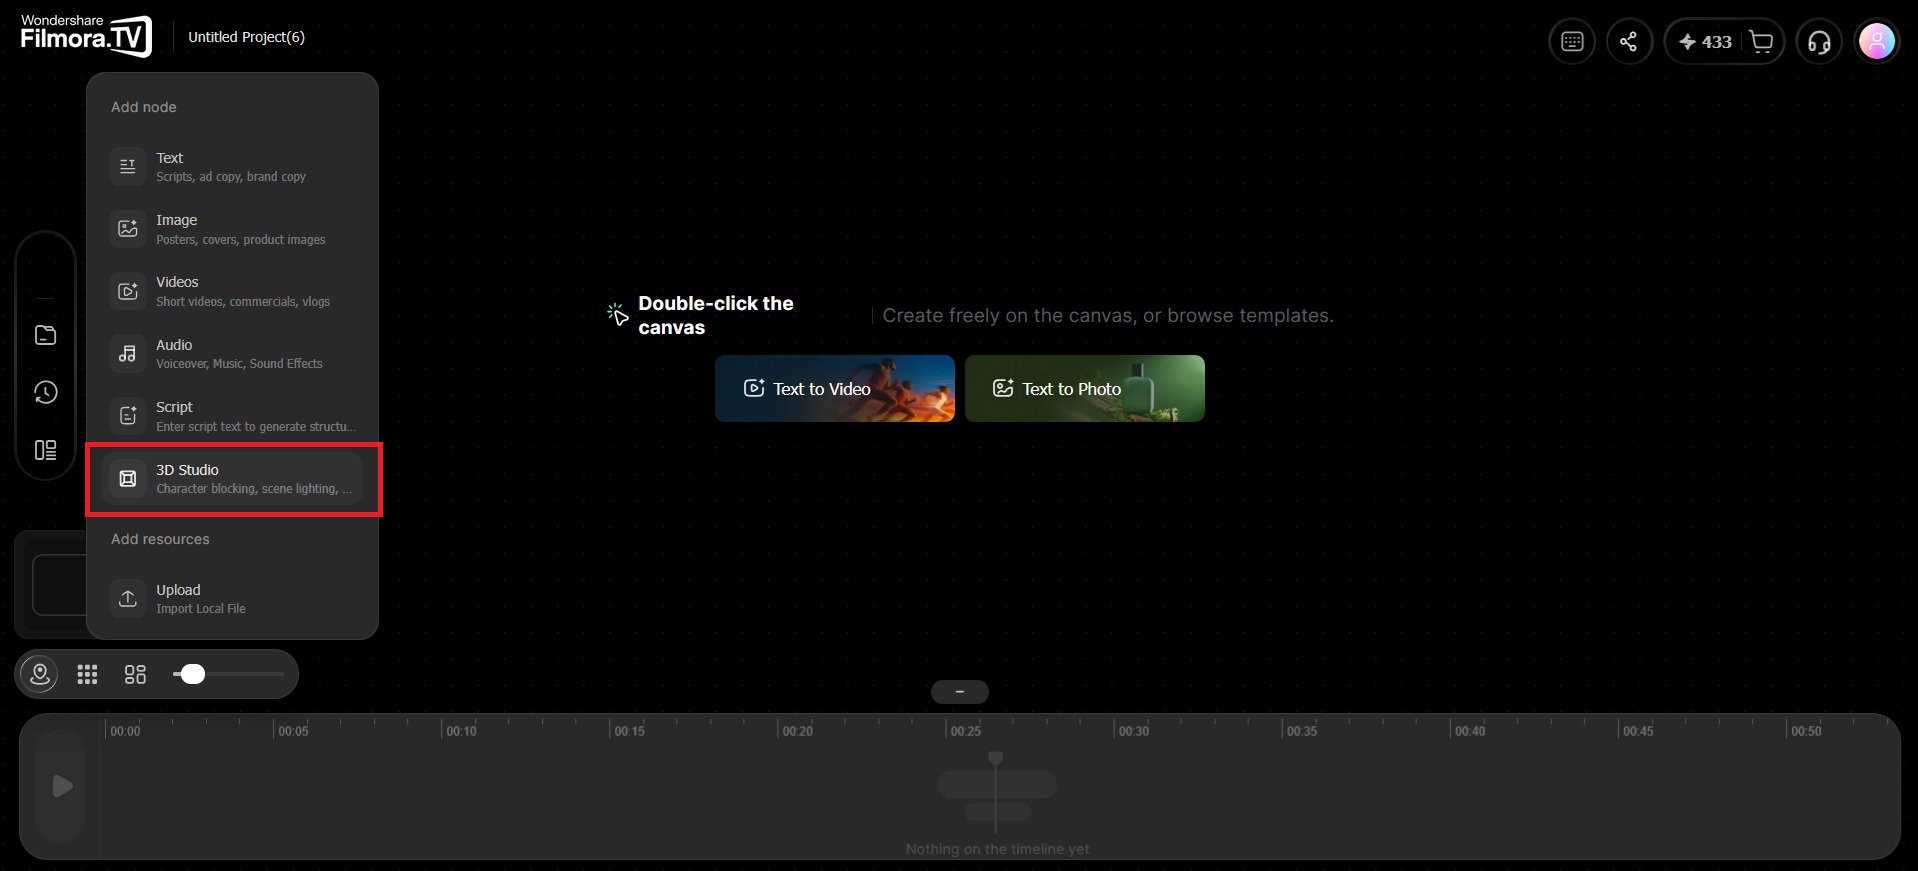
Step 1 Open 3D Studio
From the canvas workspace, select Add (+) and choose 3D Studio.
-
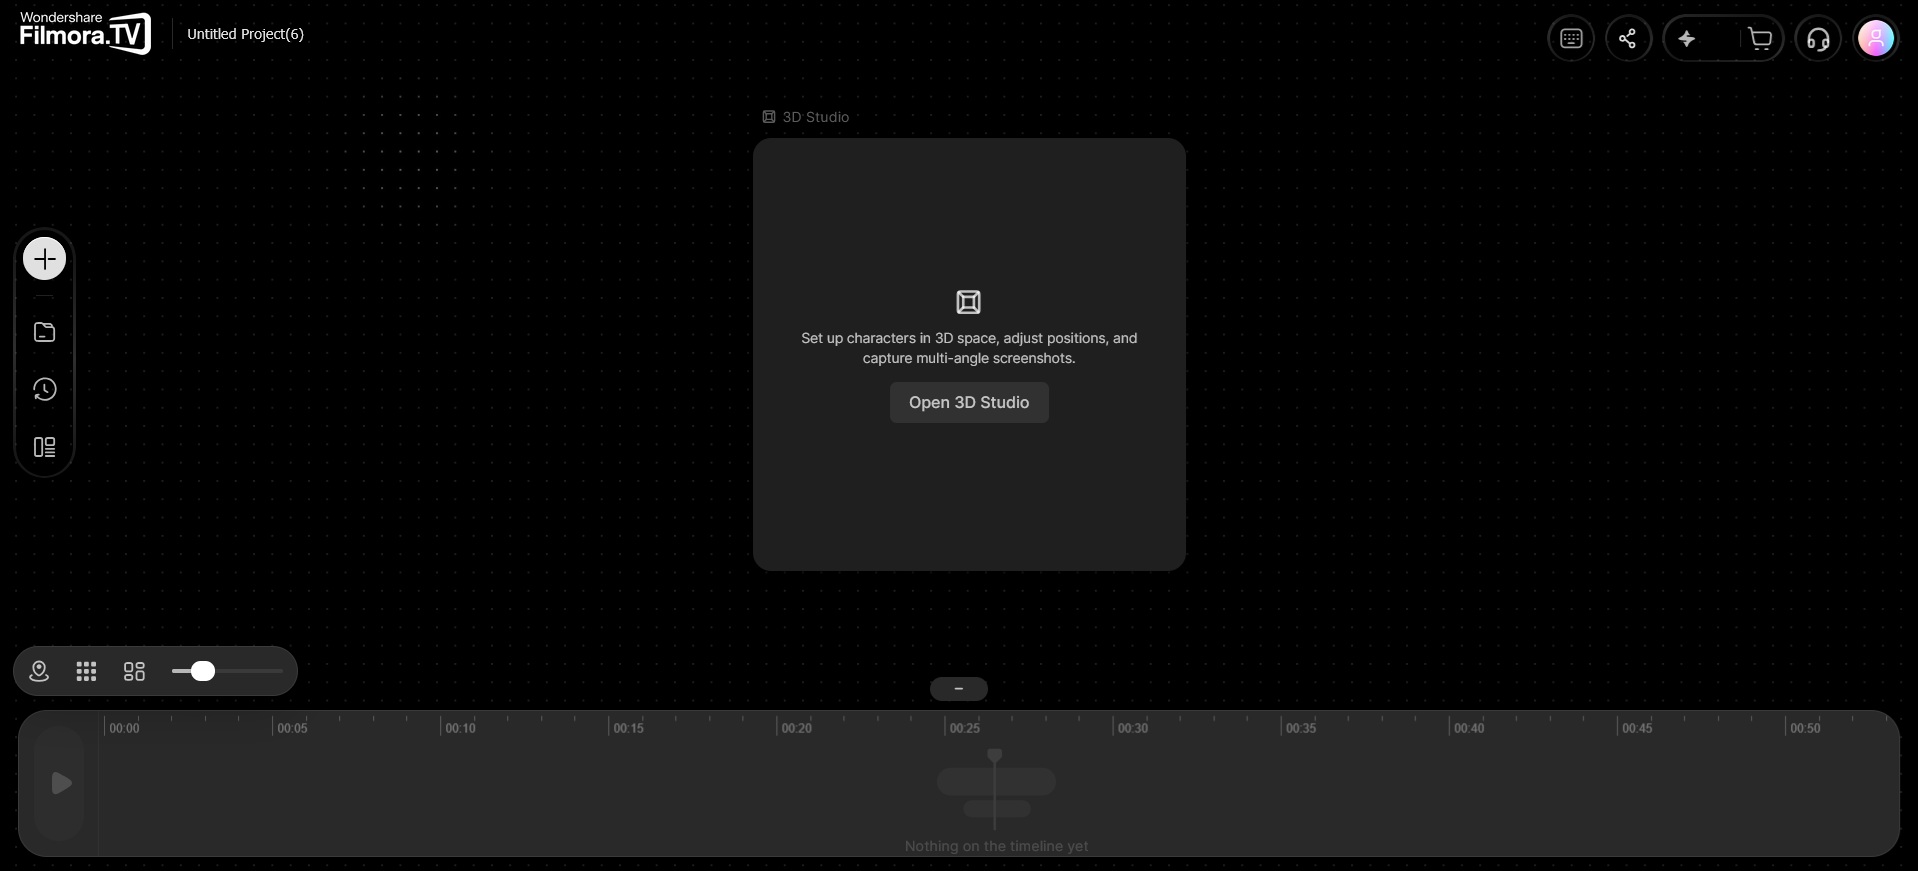
Step 2 Enter 3D Studio
Click Open 3D Studio to enter the 3D workspace and start setting up your scene.
-
Step 3 Add and Customize a Character
Use the default character or add a character to your scene. Then, select the character to adjust its position, scale, rotation, and pose to match your shot.
-
Step 4 Set Up the Camera
Use the current camera or add a new one to create the shot you want. Adjust the camera position and angle to frame your character and scene.
-
Step 5 Capture the Shot and Apply It to the Canvas
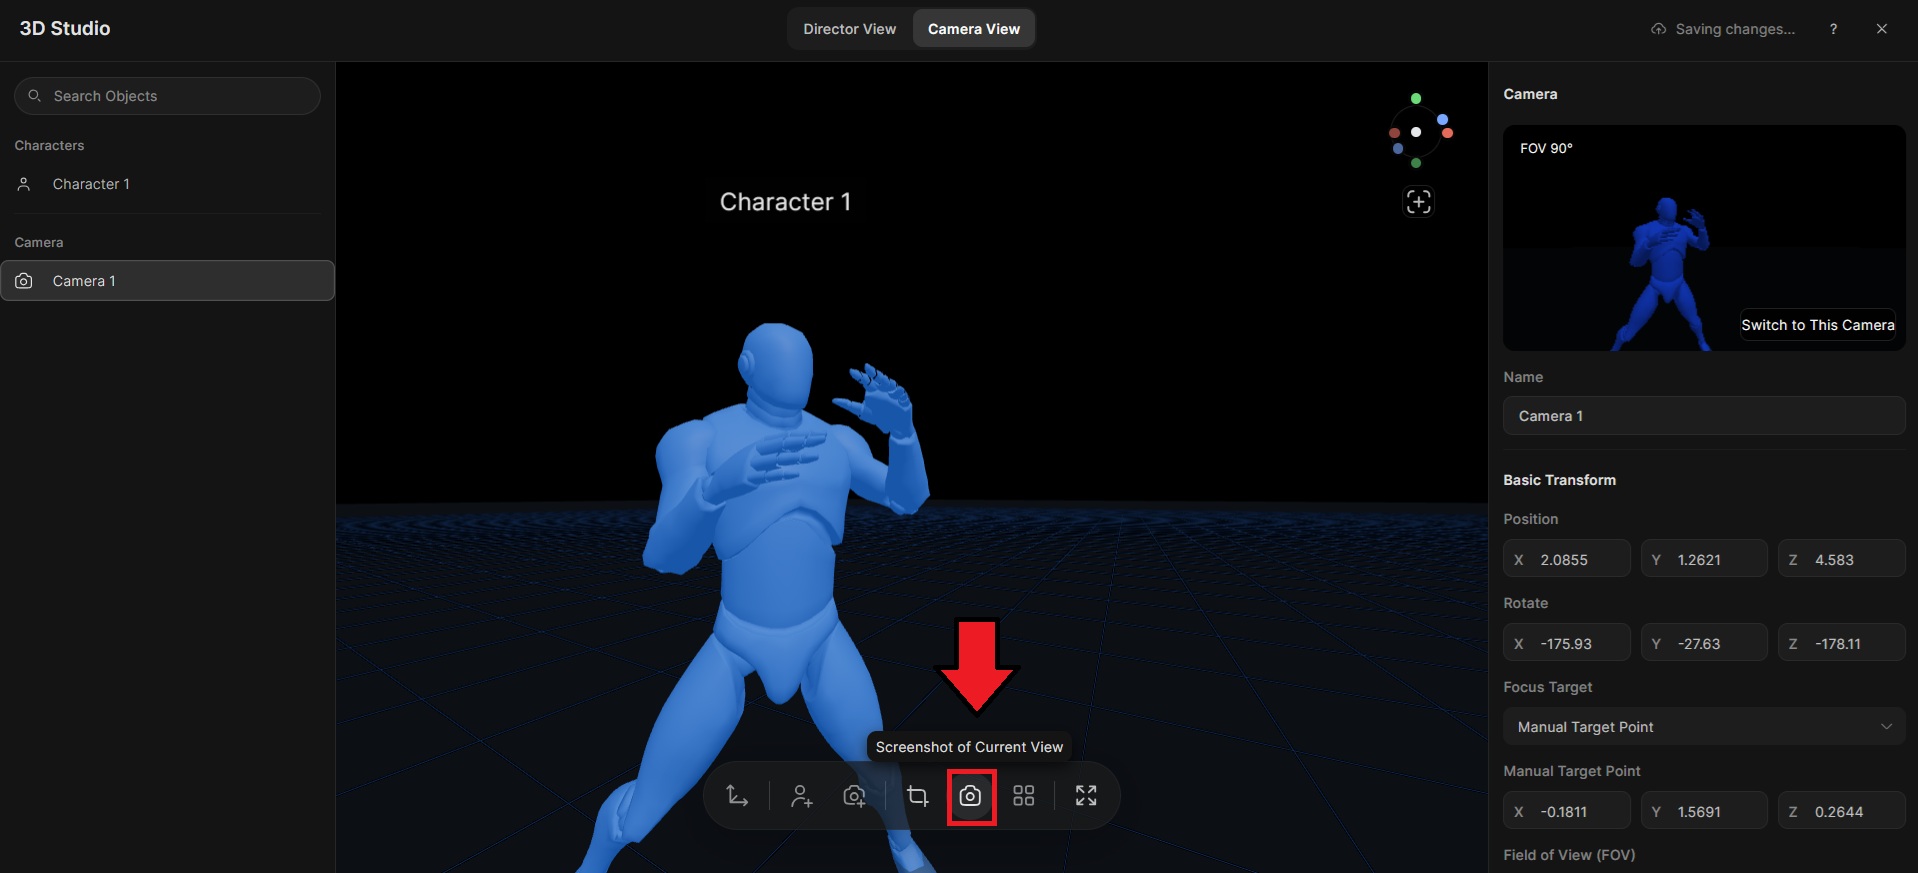
Click the camera icon to capture the current frame.
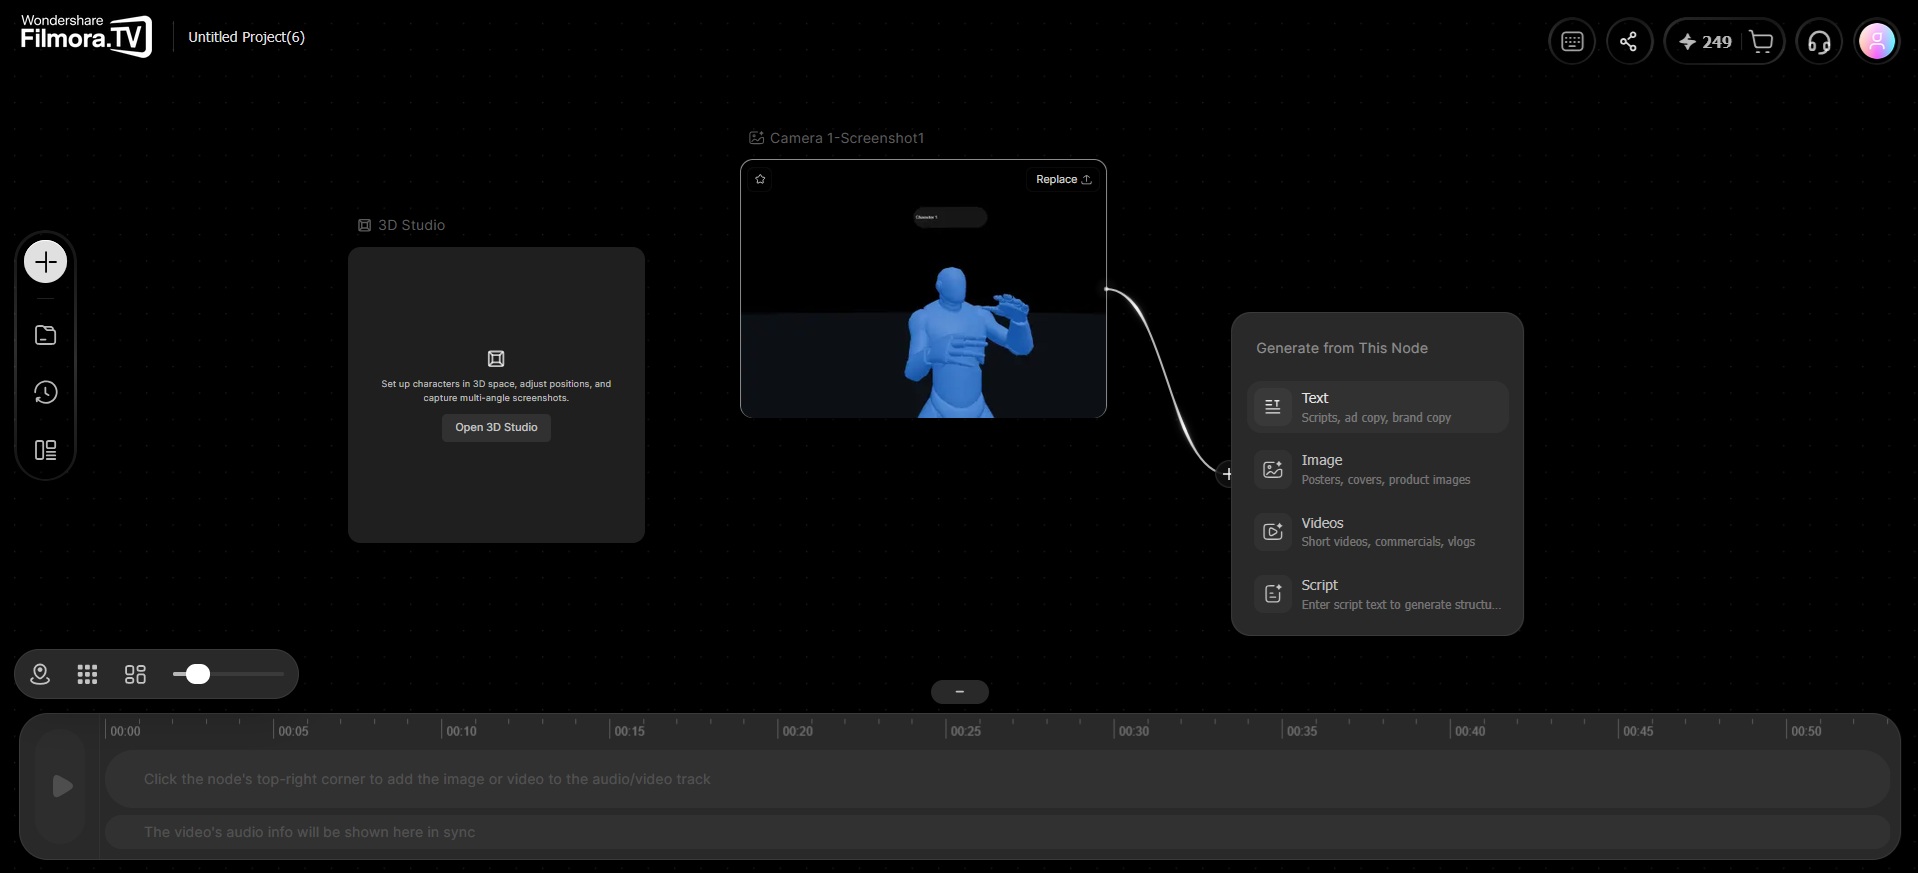
Then, open the Screenshot library, select the screenshot you want to use, and click Apply to Canvas.
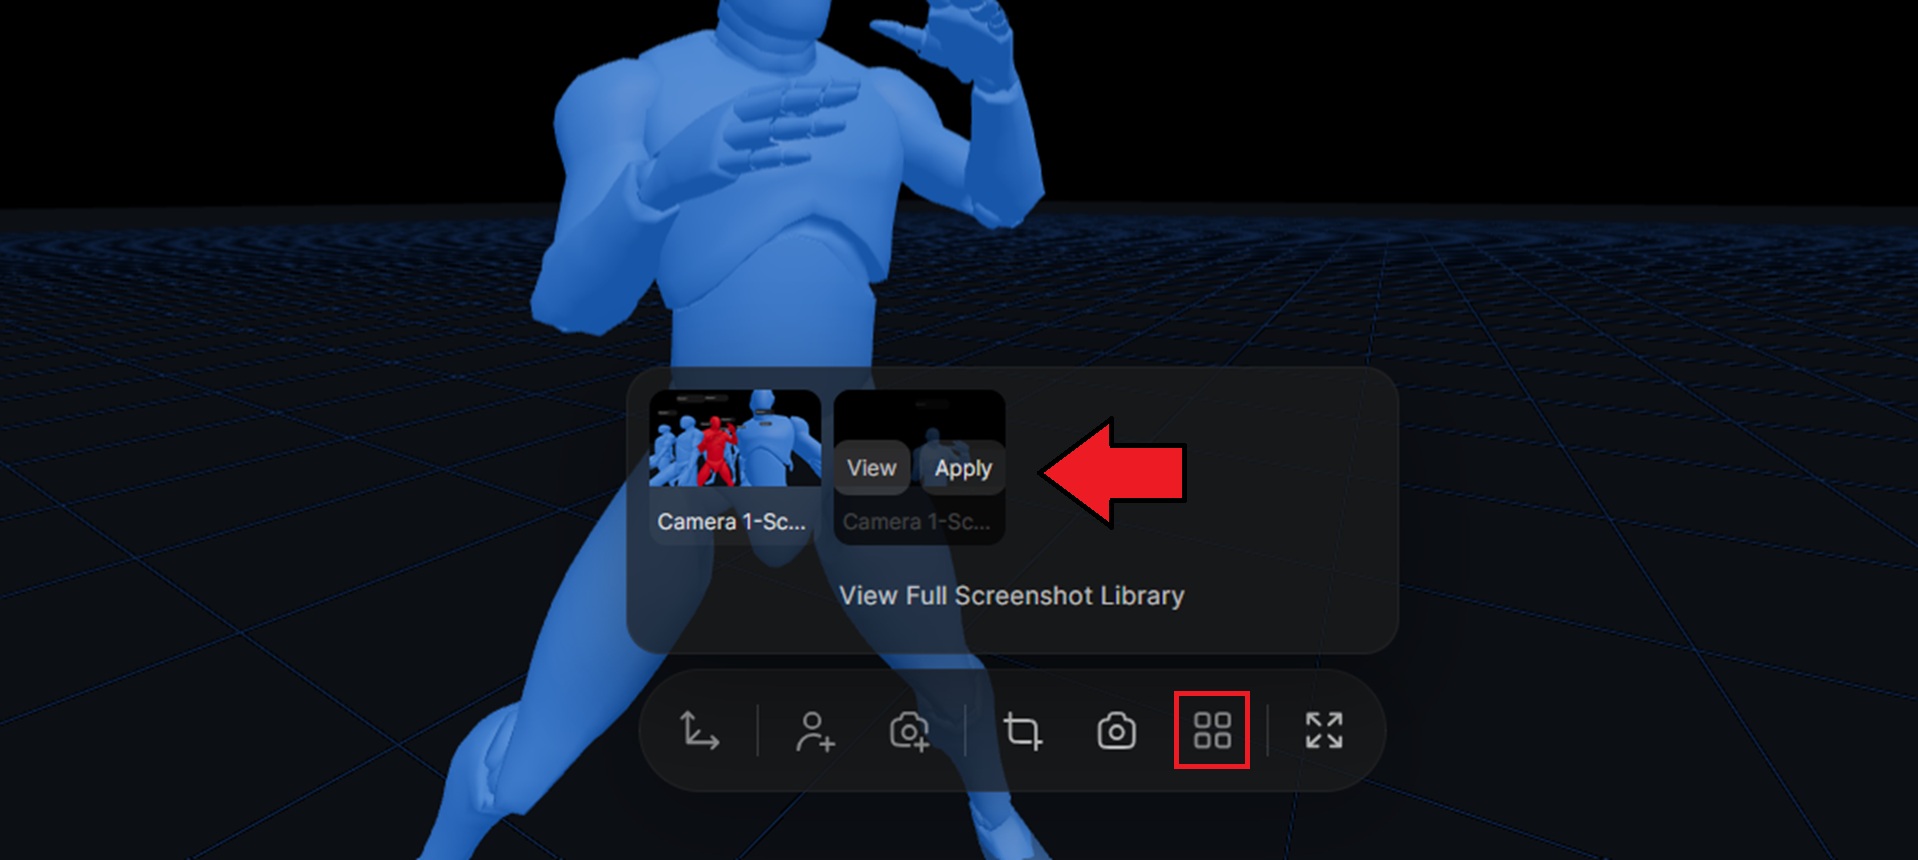
The screenshot will automatically create a new node on your canvas, which you can use as a visual reference for generating an image or video.
FAQs
-
1. What parameters can I adjust for image generation?
Before generating an image, you can adjust the model, aspect ratio, clarity, and number of generations according to your creative goal, and further control camera settings such as body, lens, focal length, and aperture.
Different models may support different parameters, so configure them based on the options shown on the page. -
2. If I only have a single character or product image, can I expand it into more reference angles?
Yes. You can use the image Multi-Angle feature to generate reference sets such as a multi-angle grid, a character turnaround, or a product three-view from an existing image. After generation, choose the most suitable result and connect it to other nodes for later image or video generation.
Was this guide helpful?